
Lock pages with login / signup form or custom message
Lock selected pages (not the whole site) and show a login/signup form or custom message instead.
Goal
Lock selected pages (not the whole site) and show a login/signup form or custom message instead.
When to use this recipe
- You have a wholesale info page, resource library, or partner docs.
- You want those URLs visible only to logged-in or tagged customers.
Step 0 – Before you start
Section titled “Step 0 – Before you start”- Identify the URLs/pages you want to protect (e.g.,
/wholesale,/partners,/resources).
Step 1 – Lock Target
Section titled “Step 1 – Lock Target”- Go to Locks → Add lock rule, select Create my own lock in the Start with a preset modal, then click Continue.
- In Step 1 – Lock Target:
- Lock name:
Lock wholesale info page. - In What do you want to lock?, select Pages, blogs and URLs.
- Under Select content type to lock, choose Page, Blog, or URL.
- Select the page(s) you want to lock (e.g.
Wholesale,B2B Information) under Restricted pages → Specific pages, the blog(s) under Restricted blogs → Specific blogs, or enter a URL under Restricted URLs and click Add.
- Lock name:
- Click Next.
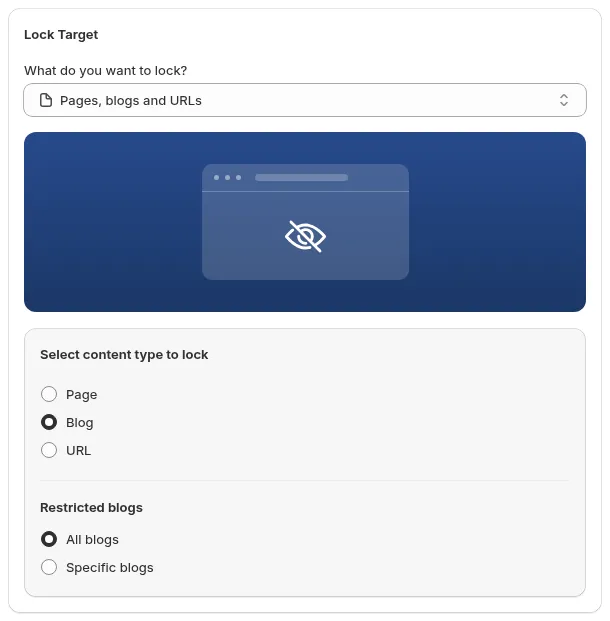
Step 1 - Lock Target. Select Pages, blogs and URLs, then choose the content type
Step 2 – Access & Message
Section titled “Step 2 – Access & Message”Choose the access pattern:
Option A – Logged-in customers only
- Condition: User type → Signed-in customers - Must be logged in
Option B – Only tagged customers (wholesale/partners)
- Condition: User type → Tagged customers – Must have specific tags, with the tag
wholesale(orpartner) in the Customer tag field.
Then set the message. This is where the UX matters most. In the Preview card (e.g. message Login View Pages), click Customize message:
- Under Message type → Message on Locked Page, choose Custom message, Custom page, Login form and custom message or Sign-up form and custom message.
- If your store uses Shopify’s new customer accounts or your theme doesn’t support classic login, the app shows a warning and marks Login form and custom message and Sign-up form and custom message as NOT SUPPORTED.
- Under After logging in, redirect customers to, choose Return to the page where login was requested, Custom page, Account page or Redirect by customer tag.
- Under Message content, edit the Custom message (or click Edit with editor) and set:
- Headline: “Wholesale information for registered customers”.
- Body:
- Explain who the page is for.
- Explain the next step (login, signup, or contact).
- Add:
- Login button/link.
- Create account / Request access link.
If you don’t allow self-registration, clearly say “Contact us to request access” with a link.
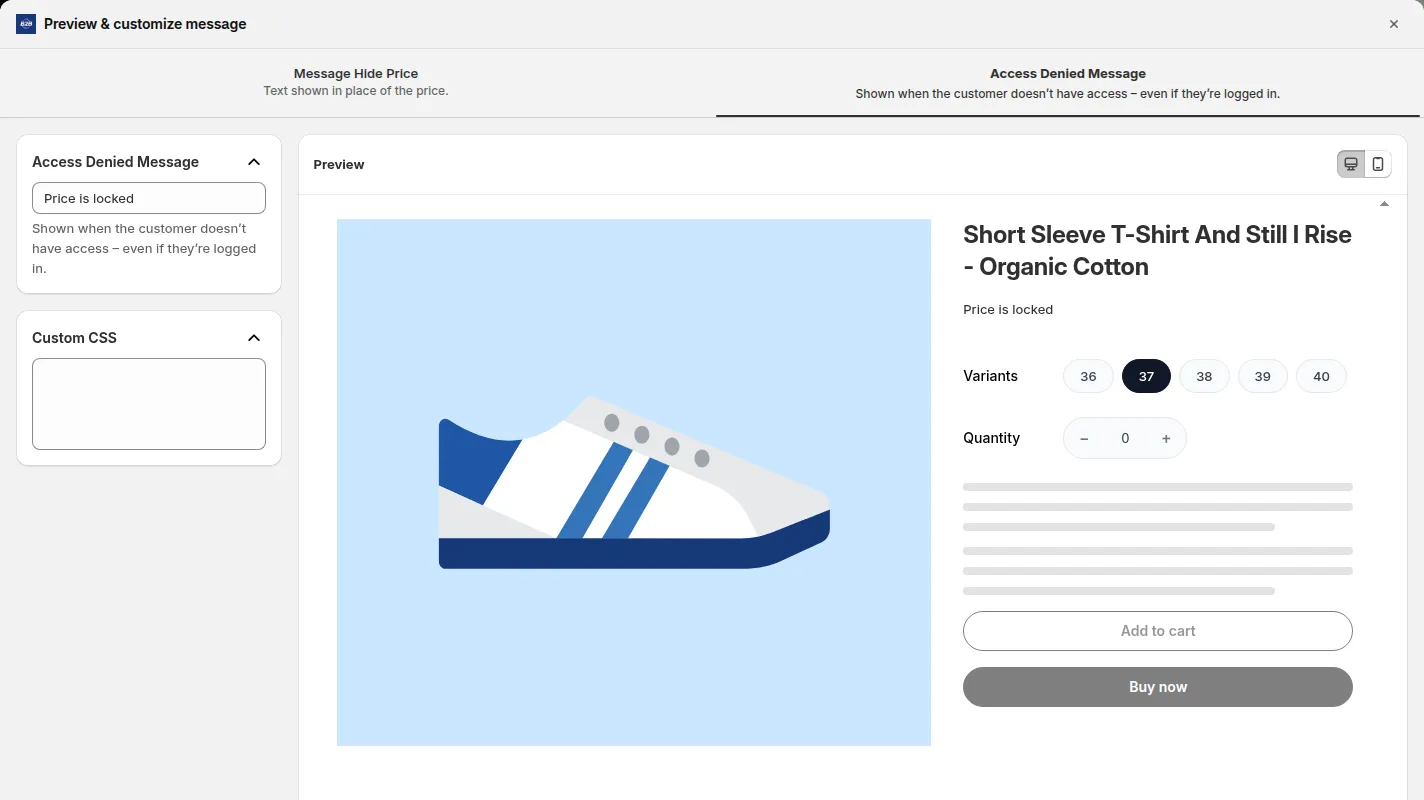
Preview & customize message: edit the text customers see on the locked page
Click Next.
Step 3 – Exclude Pages
Section titled “Step 3 – Exclude Pages”Optionally check pages in Exclude from lock rules that should stay open to everyone.
Click Save (the button next to Back, or Save in the Unsaved changes bar at the top of the page).
Check your page
Section titled “Check your page”- As a guest/unapproved user → opening the URL should show your lock message and login/signup options.
- As an approved customer → after logging in, the page should load normally.
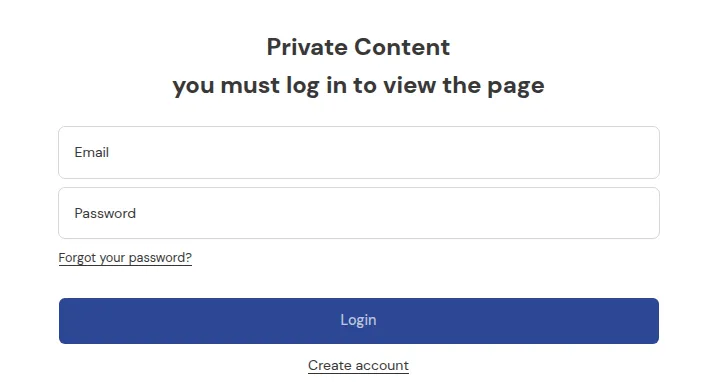
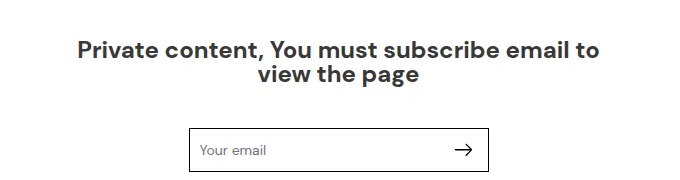
Still Need Help?
Section titled “Still Need Help?”If you have questions or need assistance configuring BSS B2B Lock, our dedicated support team is here to help.
- In-App Assistance: Click Need help? or use the in-app chat button within BSS B2B Lock.
- Email Support: Contact us at [email protected] with your store URL and specific rule details.