
Block Pay Later for Overdue Orders: Credit Limit Settings
The Credit limit settings let you block Pay later for overdue orders, choose what buyers see about their credit, tag customers by credit status and set up credit emails. Every setting is off until you turn it on, except the approval email in Credit emails. Nothing changes for your buyers until you save. For the full picture, read how Credit limit works.
Key takeaways
Section titled “Key takeaways”- The settings are in the Settings view of the Credit limit tab.
- Block Pay later when a customer has an overdue order is off by default. When you turn it on, it covers every Net Terms customer, with or without a credit rule.
- Show buyers their remaining credit is off by default. Buyers see only their own numbers.
- Tag customers by credit status is off by default. Customers get one credit tag at a time.
- Each card shows Save after you change something. Nothing applies until you click it.
Where are the Credit limit settings?
Section titled “Where are the Credit limit settings?”The settings are cards in the Settings view of the Credit limit tab, under B2B orders & discounts > Net Terms. You see the cards in this order: Credit shown to buyers, Customer tags, Credit emails, Overdue orders, Check at Shopify checkout (only when a rule exists) and Sent credit emails.
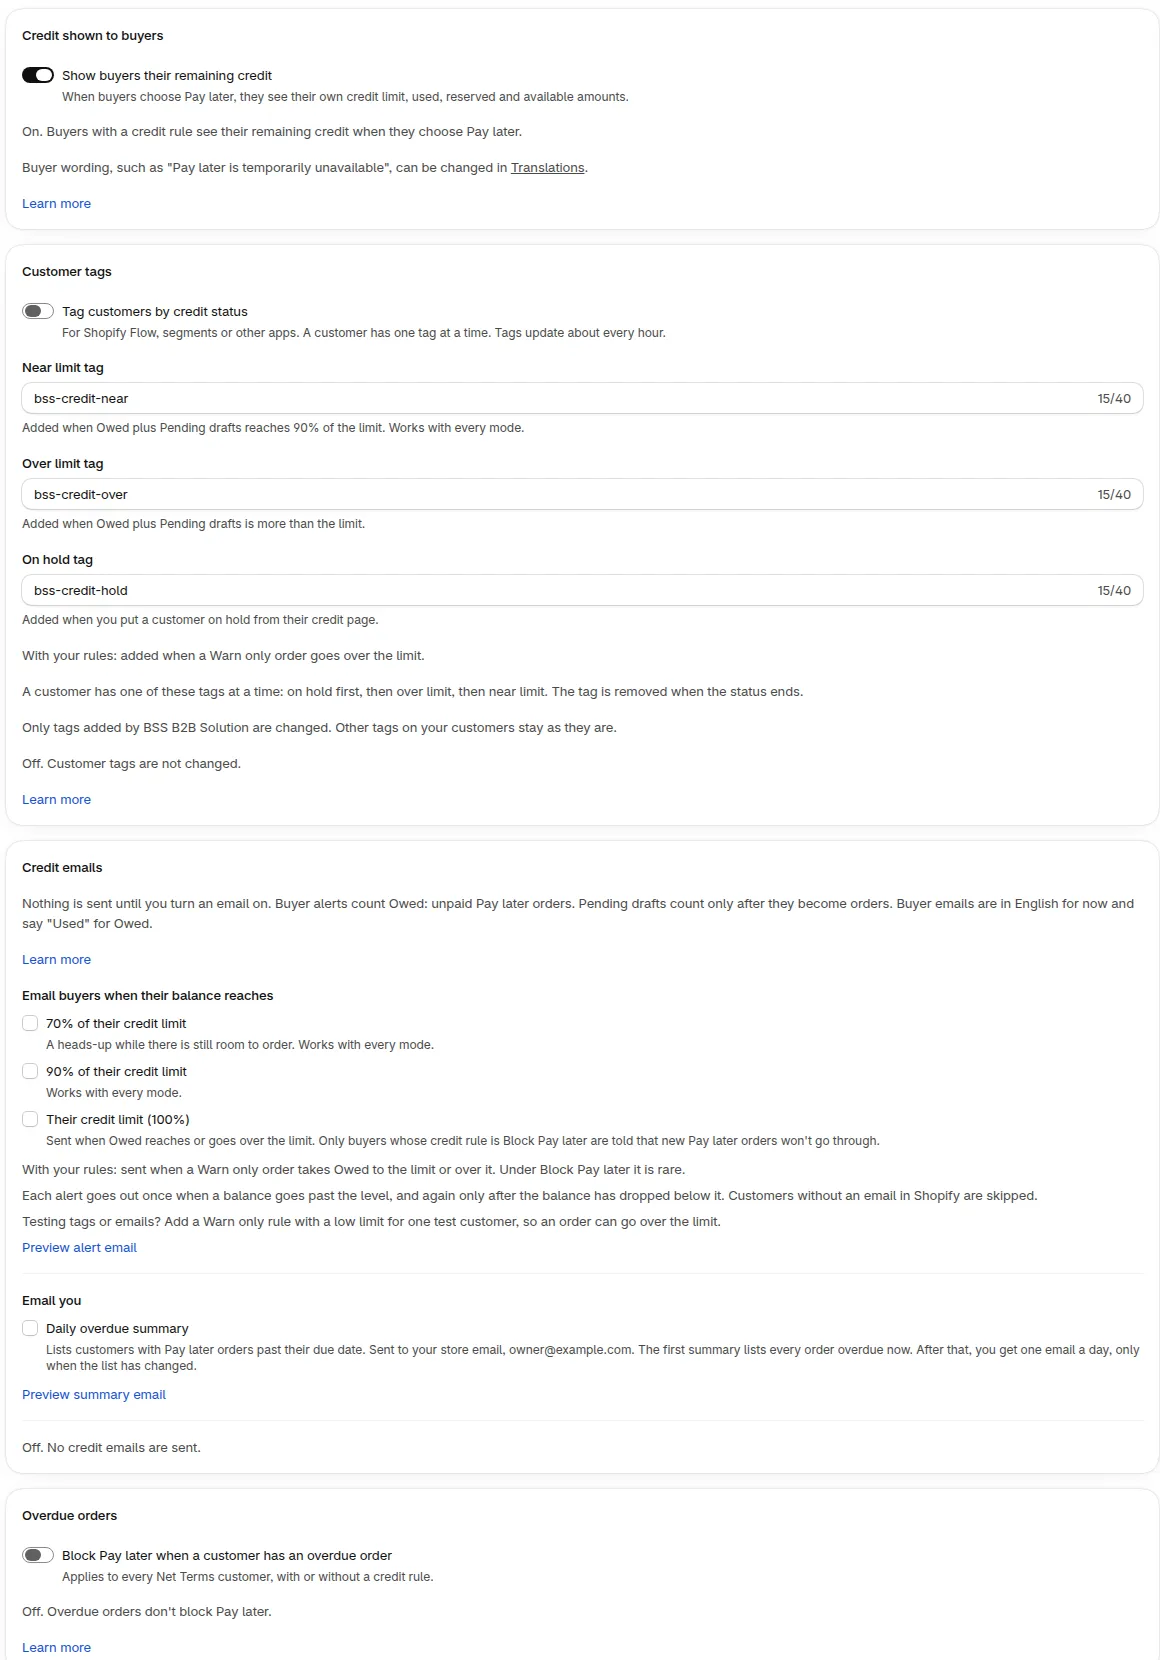
The settings cards, from Credit shown to buyers to Overdue orders.

The same cards on a 390 px wide screen.
| Card | What it does | Default |
|---|---|---|
| Credit shown to buyers | Lets buyers see their own credit in the Pay later window and in their account. | Off. |
| Customer tags | Adds a Shopify tag to customers on hold, over the limit or near it. | Off. |
| Credit emails | Sends buyer alerts, an email when an order waits for your approval and a daily overdue summary to you. | Buyer alerts and the daily overdue summary are off until you turn them on. The approval email is on. |
| Overdue orders | Blocks Pay later for customers with an order past its due date. | Off. The days field starts at 7. |
| Check at Shopify checkout | Stops company orders at Shopify checkout when they go over the company or location limit. | Off. Needs one extra Shopify permission. |
| Sent credit emails | Lists the credit emails of the last 90 days and what happened to each. | A log. It has no switch. |
The next sections cover Overdue orders, Credit shown to buyers and Customer tags. Credit emails and Check at Shopify checkout are short here and have their own pages.
How do I block Pay later for customers with overdue orders?
Section titled “How do I block Pay later for customers with overdue orders?”Turn on Block Pay later when a customer has an overdue order in the Overdue orders card, choose how many days past the due date count, and click Save. From then on, a customer with an overdue order can’t use Pay later until that order is paid. They can still pay now at checkout.
-
Turn on the block
Section titled “Turn on the block”Open the Overdue orders card and turn on Block Pay later when a customer has an overdue order. A window titled Turn on overdue blocking? opens. It says how many customers are blocked as soon as you turn this on, or that no one is blocked yet. Click Turn on to confirm, or Cancel. No order or draft is cancelled.
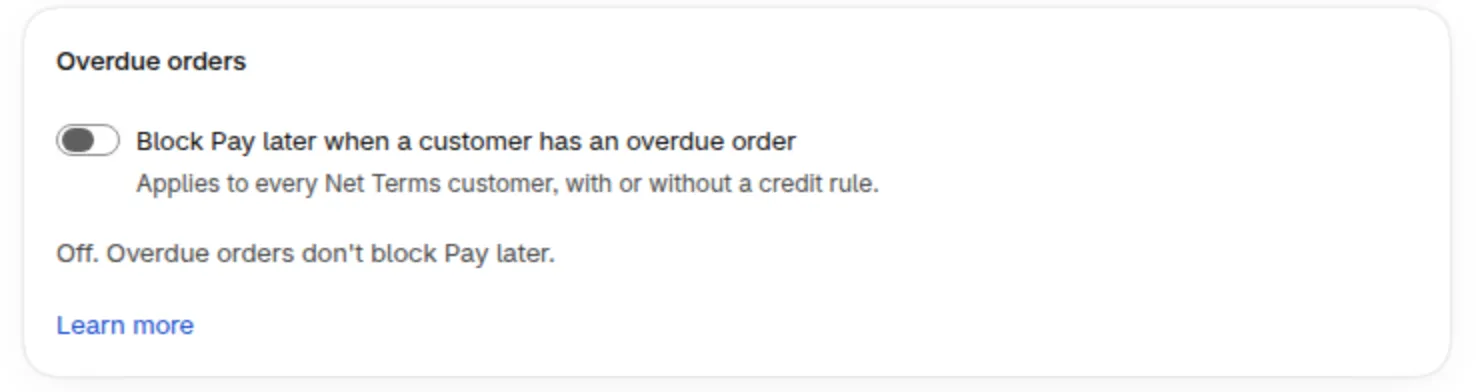
The Overdue orders card, shown here with the switch off.
-
Set the days past the due date
Section titled “Set the days past the due date”Enter a whole number from 0 to 365 in Days past the due date. The field starts at 7. Use 0 to block a customer as soon as an order is past due.
-
Read the preview
Section titled “Read the preview”Before you save, the card tells you who is affected. It shows how many customers can’t use Pay later after you save, or says that no one is blocked. Those customers can still pay now, and no order or draft is cancelled.
If the preview can’t load, you see We couldn’t check who would be blocked. Click Check again. You can also save without the preview.
-
Click Save
Section titled “Click Save”Click Save. The page confirms with Overdue setting saved. The status line under the switch now reads “On” and shows how many customers are blocked right now. Click see them to open that list.
When is an order overdue?
Section titled “When is an order overdue?”An order is overdue when more than the number of full days you set have passed since its due date. Credit limit counts the days in UTC. An order that is exactly the set number of days past due is not yet overdue.
Example: an order is due on October 1.
| Days past the due date | Blocked starting |
|---|---|
| 0 | Just after the due date passes on October 1 |
| 7 | Just after the same time of day on October 8 |
| 30 | Just after the same time of day on October 31 |
What happens to a blocked customer?
Section titled “What happens to a blocked customer?”- The block covers every Net Terms customer, whether or not the customer has a credit rule, and in Warn only and Block Pay later mode alike.
- At the Pay later window, the buyer sees “You have an overdue payment” and a button back to the cart. They can pay now instead.
- Pay later works again as soon as Credit limit sees that the overdue order is paid. This usually happens within a minute after Shopify reports the payment.
- No order or draft order is cancelled or changed.
- Pay later and Manual Order orders set to due on receipt or on fulfillment have no due date at checkout, so they never count as overdue.
- A customer on hold is refused first. A hold is a separate tool that you set on the customer. See place a customer on hold.
Should buyers see their remaining credit?
Section titled “Should buyers see their remaining credit?”Turn on Show buyers their remaining credit in the Credit shown to buyers card if you want buyers to see their own credit. It is off by default. With it off, buyers see no credit numbers, and everything else works the same.
Turn on the switch. It saves at once, and the page confirms with Buyer credit setting saved.
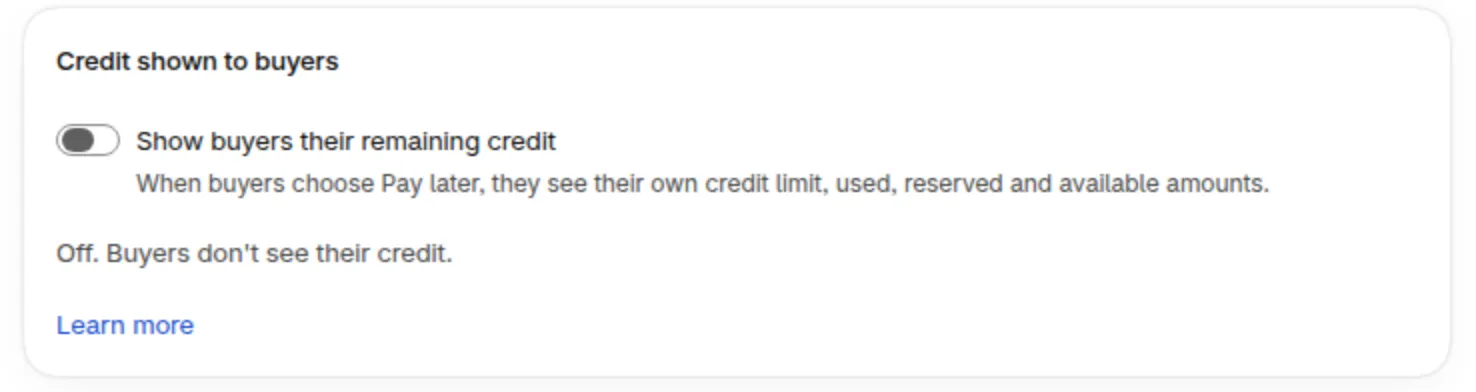
The Credit shown to buyers card, shown here with the switch off.
The switch controls two places:
- The note, bar and credit line in the Pay later window: the available credit, then Credit limit, Used and Reserved.
- The Credit page in the buyer’s customer account, including orders waiting for your approval.
Buyers see only their own numbers. They never see other customers, your notes or the reason Pay later is paused. Only buyers who have a credit rule see anything. What buyers see shows every state with screenshots.
How do I tag customers by credit status?
Section titled “How do I tag customers by credit status?”Turn on Tag customers by credit status in the Customer tags card, check the counts per tag, and confirm. Credit limit then adds one Shopify tag to each customer who is on hold, over the limit or at 90% used or more. Tags usually update within a minute when you change a customer’s credit in the app, and about every hour after orders and payments (the daily recheck also updates them). Use the tags in Shopify Flow, customer segments or other apps.
-
Turn on the switch
Section titled “Turn on the switch”Turn on Tag customers by credit status. Three tag names appear with their defaults.
Field Default name A customer gets it when On hold tag bss-credit-holdPay later is on hold Over limit tag bss-credit-overThe customer owes more than the limit Near limit tag bss-credit-nearPending plus owed is 90% of the limit or more A customer has one of these tags at a time: on hold first, then over limit, then near limit. Overdue orders have no tag.
-
Rename the tags if you like
Section titled “Rename the tags if you like”Each name can have up to 40 characters and no commas. The three names must be different, and capital letters do not make a name different. A name can’t be the tag of one of your credit rules, and it can’t be a tag that your customers already have from somewhere else. The card shows a message under the field when a name doesn’t work.
-
Click Save and confirm
Section titled “Click Save and confirm”Click Save. A window asks Turn on customer tags? or Tag N customers now? and lists how many customers get each tag. Click Turn on and tag N customers (or Turn on tags when no one needs a tag yet). If one of your credit rules already targets one of these tags, the window warns you.
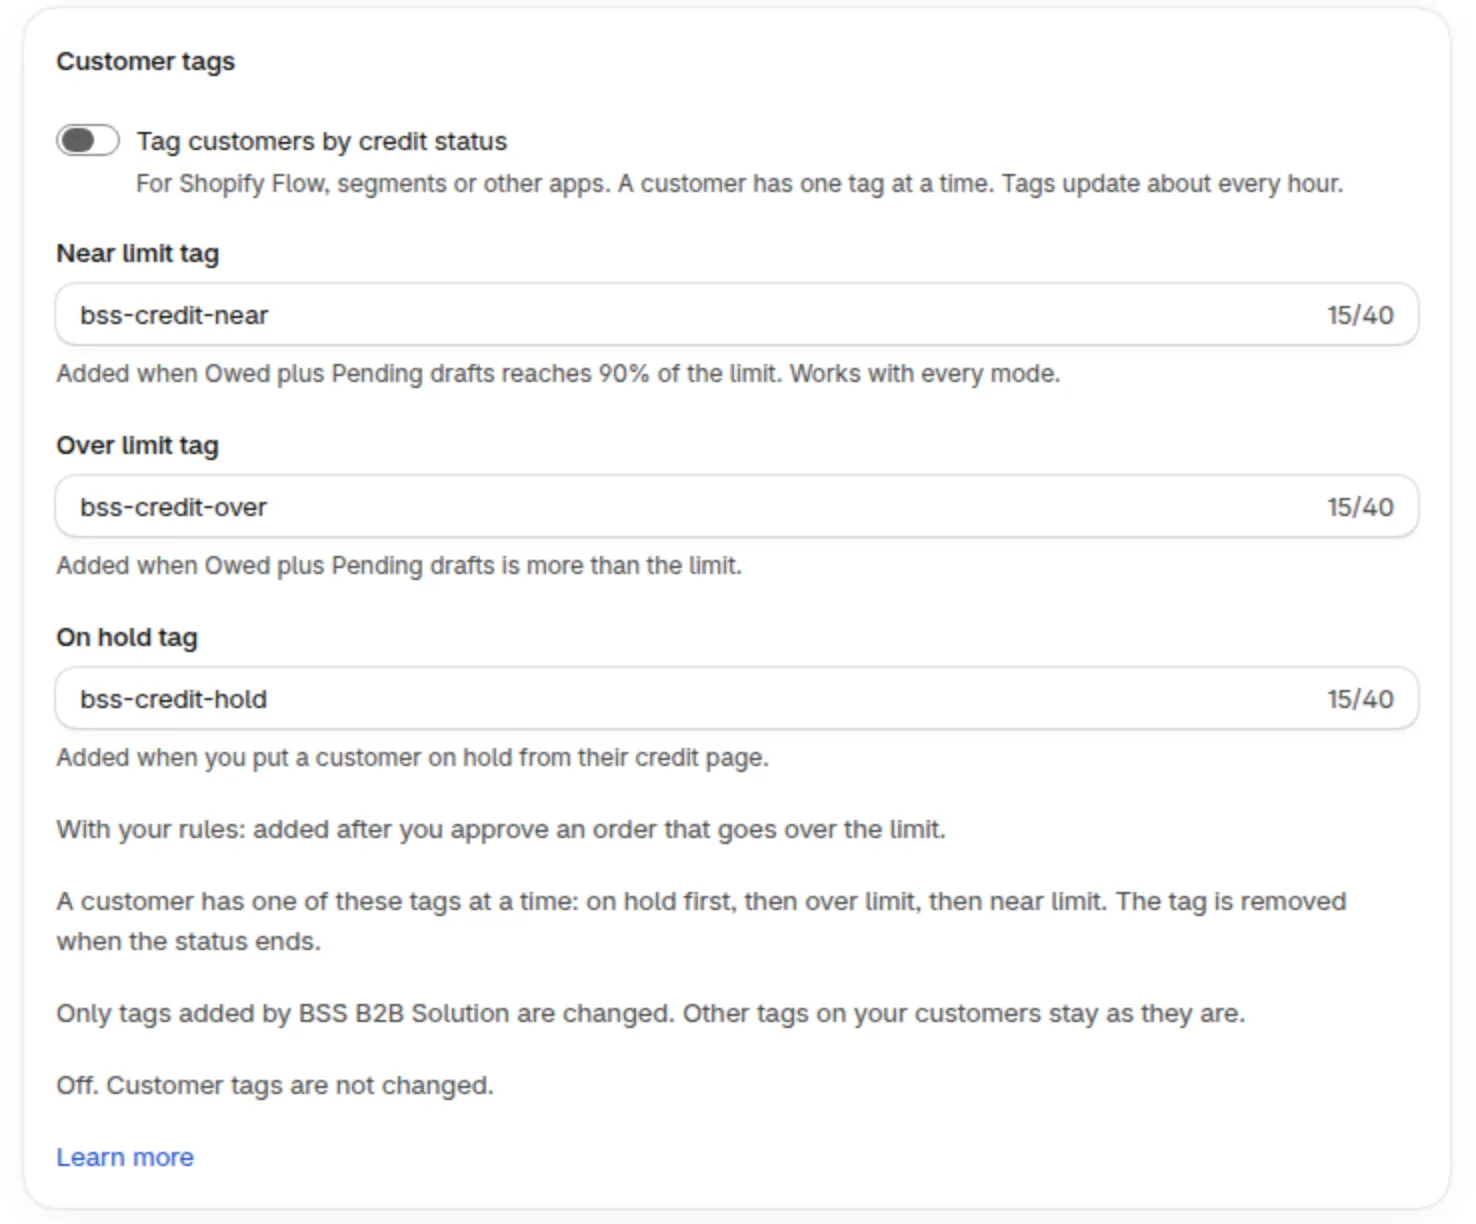
The Customer tags card with the three tag names.
-
Check the result
Section titled “Check the result”The card shows how many customers are tagged and when the tags were last updated (in UTC), or that no customer needs a tag right now. The first tags can take a few minutes. After that, tags usually update within a minute when you place or remove a hold, set or revoke a temporary limit, adjust a balance, change an opening balance, or save, turn on, turn off or delete a credit rule. They also update when a Recalculate run finishes. Changes that come from outside the app, such as an order placed, paid or refunded, or a payment due date passing, are picked up by the hourly update and the daily recheck. If Shopify does not accept some tags, the card shows a warning with the number of customers, and the next hourly update tries again.
Good to know:
- Only tags that BSS B2B Solution added are changed. Other tags on your customers stay as they are.
- A tag is removed when the status ends.
- If you rename a tag while tags are on, customers who already have the old tag keep it.
- Each tag change updates the customer in Shopify, so Shopify Flow and other apps that watch customer tags will see it.
- To turn tags off, switch them off, click Save and choose Keep the tags or Remove the tags in the window. Click Turn off tags to finish.
- The statuses behind the tags are the same as the ones in the Customer balances list.
If you see We couldn’t check your tag names, Shopify did not answer and nothing was saved. Try again in a moment. If a name is refused, pick another one. A tag that is the target of a credit rule is never accepted as a status tag name.
How do I turn on credit emails?
Section titled “How do I turn on credit emails?”Use the Credit emails card. It holds the settings below. Buyer alerts and the daily overdue summary send nothing until you turn them on. The approval email is on by default.
- An order is waiting for your approval, sent to your store email for Ask me to approve rules. It shows under Email you once a rule uses Ask me to approve, and you can turn it off there.
- Buyer alerts at 70%, 90% and 100% of the limit. Each level is its own option.
- Daily overdue summary, sent to your store email. It lists orders past their due date and does not use the Days past the due date value.
A third tool, Send statement, is a button on the customer page.
Buyer emails are in English for now. Sent credit emails shows the last 90 days. The emails and statements guide covers every email, the timing and the previews.
What is Check at Shopify checkout?
Section titled “What is Check at Shopify checkout?”Check at Shopify checkout is an opt-in switch for company buyers. It stops an order at Shopify checkout when the order is more than the Available of a company location or of its company. It only checks locations that have payment terms in Shopify, and it uses only company and location rules set to Block Pay later. The Shopify checkout check page lists what it stops, what it does not and how long it takes.