
Manage, Approve, and Notify Your Wholesale Customers
Once your registration form is live, you can manage incoming wholesale applications directly in your BSS B2B Solution dashboard. This section helps you review, approve, and stay connected with every new customer efficiently.
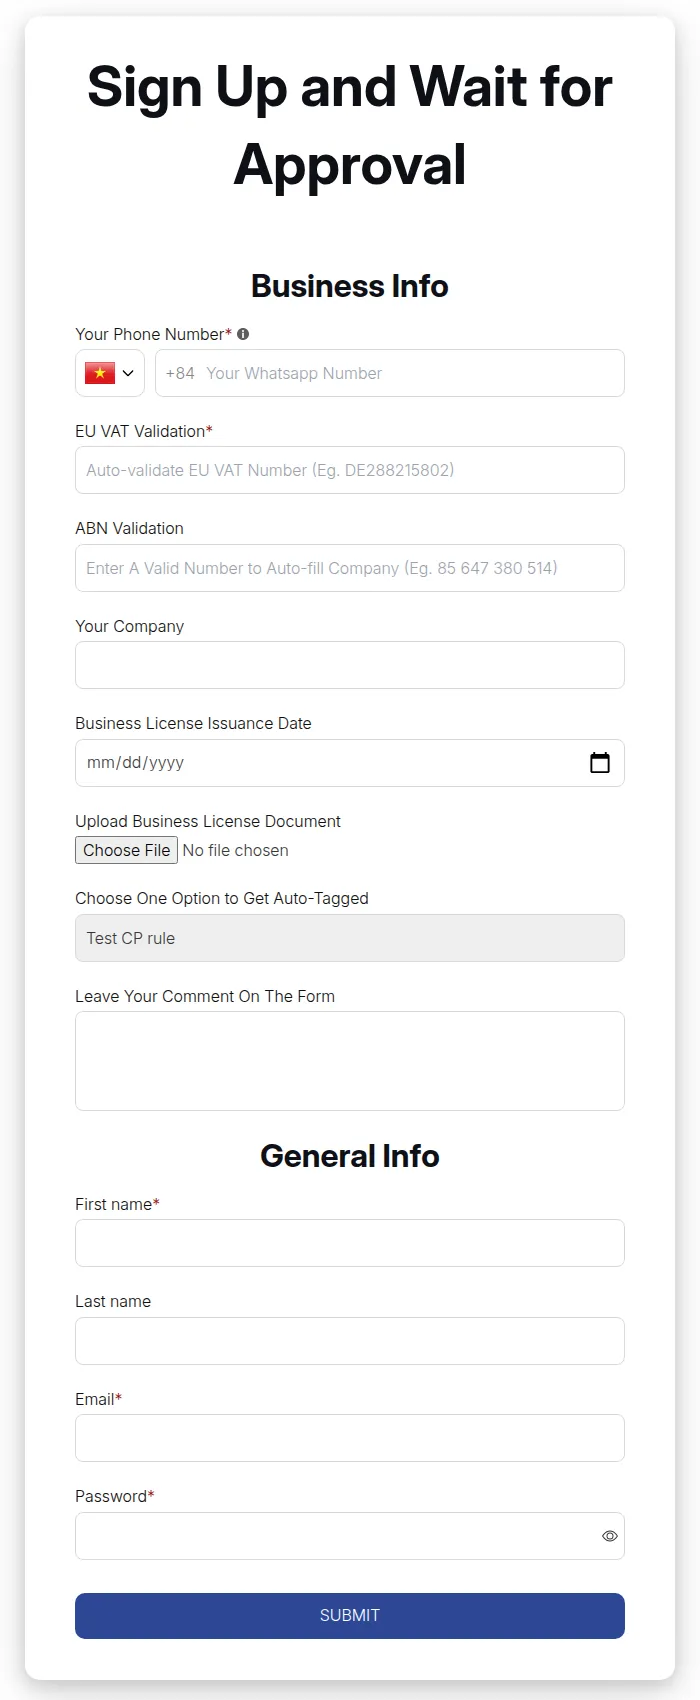
View and Manage Registrations
Section titled “View and Manage Registrations”After customers submit their registration forms, their data appears in the Registration Forms → Registration management tab.
Here, you can:
- View all submissions along with the details each customer provided.
- Preview Attachments In-App: Click on any customer-uploaded tax exemption or business license file to preview it instantly in a popup viewer without needing to download the file to your computer.
- Filter by Created At: Use the date range filter to view applicants registered within a specific timeframe (e.g. Last 7 days, This month, or a custom date range).
- Filter or search by name, email, tags, or approval status to find the exact customer you’re looking for.
- Export registration data as a CSV or Excel file with scoped options for easy backup and external audits.
- Change rows per page: Use the page-size dropdown next to the pagination to show 25, 50, or 100 customers per page. The table reloads from page 1. Your choice lasts for the current session only.
Account statuses
Section titled “Account statuses”Every registration sits in one of these states. The status decides what the customer can do on your storefront:
| Status | What it means |
|---|---|
| Pending | The form was submitted and is waiting for your decision. The customer has no wholesale access yet. |
| Approved | You accepted the application. The customer gets wholesale pricing and B2B features. |
| Rejected | You declined the application. |
| Restricted | The customer was approved before, but their access is currently suspended: the account still exists and its data is kept, but wholesale access is switched off. Use this instead of deleting when you may want to restore the customer later (e.g. overdue payments, a paused partnership). Set it with Disable this customer in the row’s action menu; Enable this customer restores access. |
| Deleted | The registration record was removed from the wholesaler list. |
Approve or Reject Customers
Section titled “Approve or Reject Customers”You can control how new customers are approved:
- Manual Approval:
- Review each submission carefully.
- Click Approve to grant them access to wholesale pricing and B2B features.
- Click Reject if the applicant doesn’t meet your business requirements.
- Approved customers automatically receive a confirmation email (if notifications are enabled).
- The phone number the applicant entered is saved to the customer’s own phone number in Shopify (the primary contact phone), not only to their address.
- Before approving, you can open the registration and edit any field (for example to fix a typo). The detail view also tells you whether a Shopify customer with that email already exists: approving then updates that customer instead of creating a new one.
- On approval the app creates (or updates) the Shopify customer, applies the form’s tags, marks the customer tax exempt if the form says so, saves custom fields as customer metafields and sends the approval email. If Shopify refuses (for example an address it does not accept), you see the reason and can retry.
- A rejected applicant can apply again by submitting the form another time.
- Bulk Approve or Reject for All Matching Submissions:
- Select Entire View: Check the table header checkbox. To process records beyond the current page (e.g., all 250 matching submissions), click “Select all X registrations matching this filter”.
- Trigger Action: Click Bulk Actions and select Bulk Approve or Bulk Reject.
- Background Processing: Jobs run asynchronously in the background. A live progress banner displays real-time execution status (
Processing X of Y). - Safe Processing Lock: The system locks concurrent bulk operations to prevent duplicate executions.
- Cancel Anytime: You can safely click Cancel midway through the process to stop remaining unexecuted items.
- Error CSV Report: When complete, the result banner summarizes successes and failures. If any customer update encounters an issue, download the error CSV report to inspect the detailed failure reasons.
- Auto Approval:
- Set the system to automatically approve customers once they submit their form.
- This is ideal for stores that want fast onboarding and fewer manual checks.
- Conditional Approval:
- With manual approval, Auto approve if email contains approves matching applicants automatically, for example
@company.com. - Perfect for pre-verified partners or repeat clients.
- With manual approval, Auto approve if email contains approves matching applicants automatically, for example
Send Notifications Automatically
Section titled “Send Notifications Automatically”Keep everyone in the loop with built-in email notifications:
- To Admins: Receive an email when a new registration is submitted, so you can review it promptly.
- To Customers: Send confirmation emails for successful registration, approval, or rejection.
| Sent to | When | |
|---|---|---|
| New customer registered | You (the store) | A registration is submitted |
| Account pending | Applicant | The registration is received and waits for manual approval |
| Account approved | Applicant | You approve the registration |
| Account activation | Applicant | The account was approved without a password, so the customer must set one |
| Account rejected | Applicant | You reject the registration |
An email is only sent when its template is active in Email Templates and the form has Email notification for approved/declined customers turned on.
Approve or reject from the email
Section titled “Approve or reject from the email”In the admin notification email you can add Actions in email: View customer (opens the registration in the app) and Approve/reject customer (only for registrations that need manual approval). The approve/reject button opens a review page where you decide with one click, without logging in. Set Link expiration to control how long these links stay valid.
You can customize these email templates to match your tone and branding, ensuring a consistent professional experience from signup to approval.
Use Tags for Better Organization
Section titled “Use Tags for Better Organization”When customers are approved, you can automatically add tags (e.g., “Wholesale,” “VIP,” “Distributor”) to their profiles in Shopify.
Tags help you:
- Segment customers for pricing rules or marketing campaigns.
- Filter and apply specific B2B rules more easily in other modules (like Custom Pricing or Volume Pricing).
- Combine approval status and tagging to automate pricing or visibility rules.
- Always test your registration and email flow once before going live.
- For larger teams, assign staff roles to handle customer approvals efficiently.
This section ensures your B2B onboarding is not only secure and efficient but also leaves a professional first impression on every new customer.